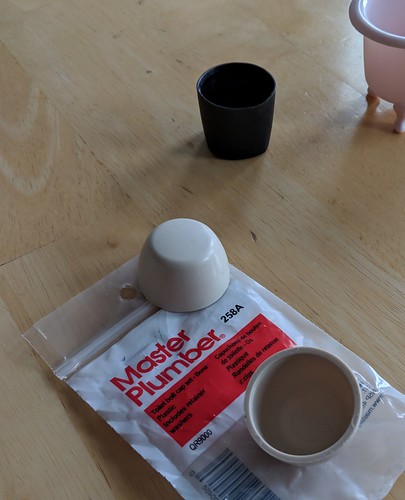
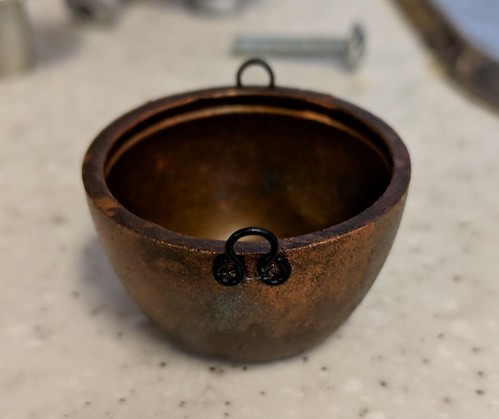
in my pre-purge days i had amassed quite a collection of sample cups – you know the ones that costco, or the groceries stores used to pass out samples of food items they want you to try? anyway every time i got a sample, if the food in it wasn’t too sticky, once iI ate the food, i would stick it in my purse or pocket instead of the garbage. at home i would wash it out and add it to my ever growing pile. One time i really scored and the lady passing out samples accidently knocked a stack onto the floor while we were there. she explained that she couldn’t use them for food anymore (obviously) and would just have to throw them out, if we had any use for them, we were welcome to them, of course i snagged them all!
anyway i use the for all sorts of things, like mixing paint colors or holding small amounts of glue when crafting. i reuse them as much as possible and then throw them out when they get too covered with stuff or crack, as they eventually do. as i was looking for something to turn into a washtub, my eyes lit on the stack of sample cups and i knew that some of them would be perfect.
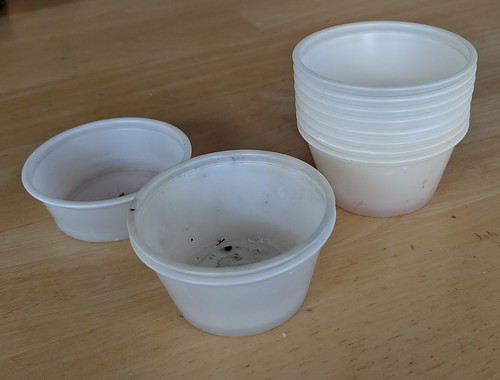
this is just a few of the ones i have at the moment. you can see they are all well used.
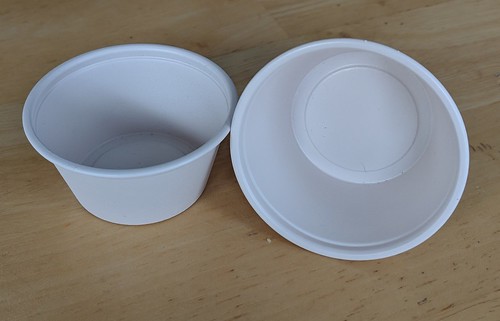
while i was making my washboard i coated the cups with off white primer. i have a good can of spray that will stick pretty much anything – wood, metal, plastic etc. i use that as my base coat so my acrylic paints will stick and not just drip or peel off.
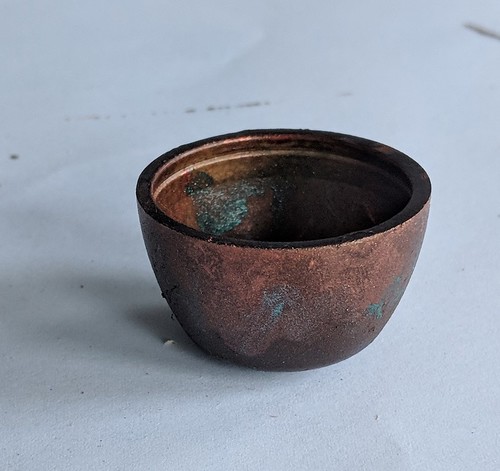
next i sprayed on a coat of stainless silver to get the right base color…. and disaster!
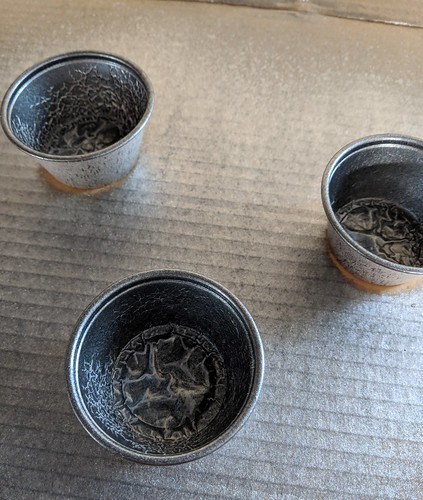
even though they were both the same kind and brand of paint. the paint peeled and buckled when i put on the first coat. so back to the drawing board.
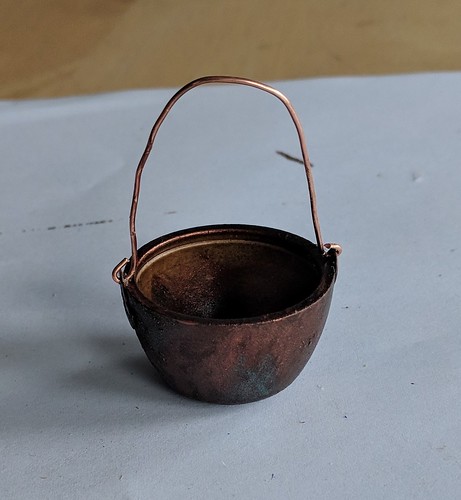
of course this washtub fits the bigger of my two washboards, so i had to find something else for my realpuki’s anyway. as luck would have it, i was putting in an order for new saw blades at stockade wood supplies, and they had a miniature tub available, and it was smaller than any of the ones i had seen. i thought it might be the perfect size so added it to my order.
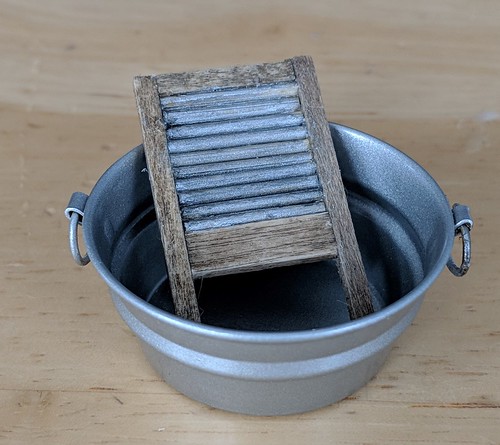
turns out it was perfect. since it was already silver i just needed to make it look worn.
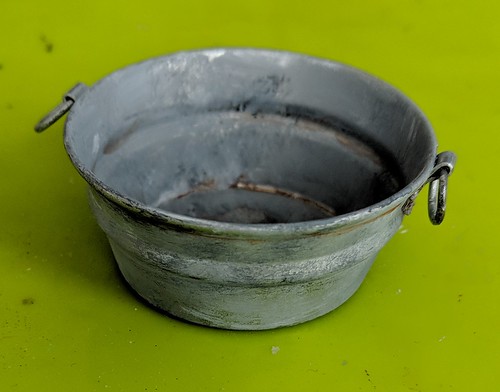
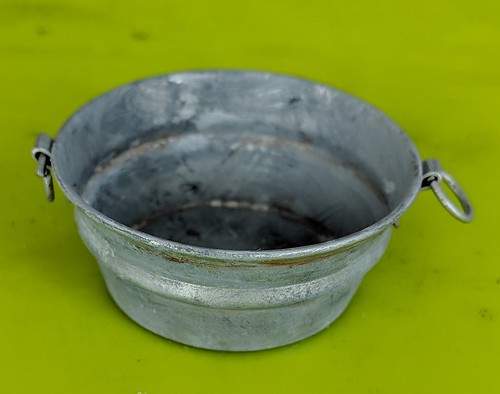
to age it, i brushed on random streaks and dabs of black and white and grays. as usual i put a bit of each color on my palette, and used a toothpick to swirl it together in the middle. this gives me black, white, and a near infinite variety of grays. i looked at several pictures of old galvanized tins and buckets from the internet, as i worked, so i could see what i was aiming for, and make sure it looked realistic.
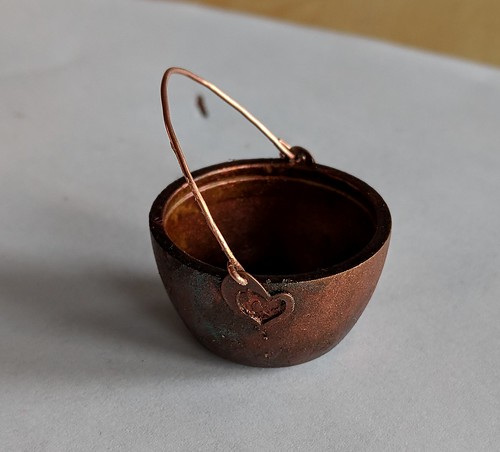
After that paint dried, for the final touch, i added some rusty brown wood stain in the creases, and around the handles -places where rust was most likely to form. the stain is more transparent than the paint, so works better for light rusting than the thicker acrylic would.
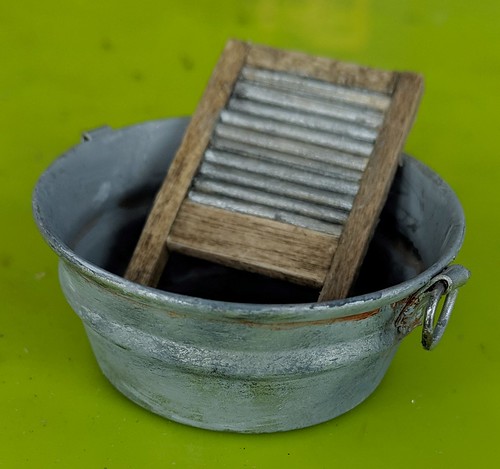
and ready to go


