You are currently browsing all posts tagged with 'gypsy caravan'.
Displaying 1 - 10 of 18 entries.

attaching the door

  • Posted on December 11, 2018 at 8:10 am

this probably doesn’t deserve a separate post, since the door is just glued together then glued on the caravan, but my time has been a bit tight lately and it took two days to get it done!

after the paint dried, i glued the details to the door first. it turned out the window frame was slightly too small to match up so i didn’t use it, but there is enough detail on the door that it didn’t matter.
door glued

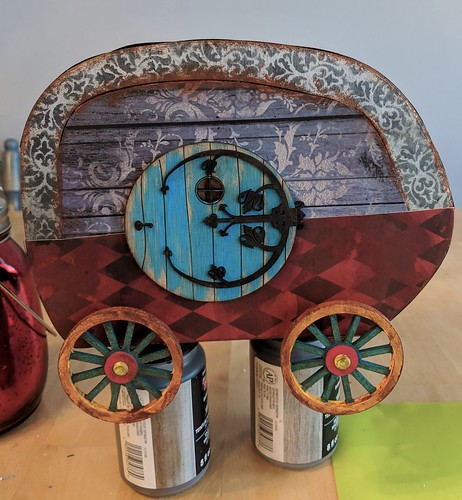
then glued the door to the caravan.
door attached

i was being lazy and didn’t want to take all the bedding and stuff out of the caravan again so that i could turn it on it’s side, so i ended up having to sit there and hold it in place while the glue set, only a couple of minutes so not too bad. luckily i also like to read, so it wasn’t a problem just sitting there.
the size is perfect. i kind of wish now that i had made the top wood paneling covering extend to the edges,i think it would have looked better, but it’s too late now and it is what it is.

a door for the caravan

  • Posted on December 10, 2018 at 9:05 am

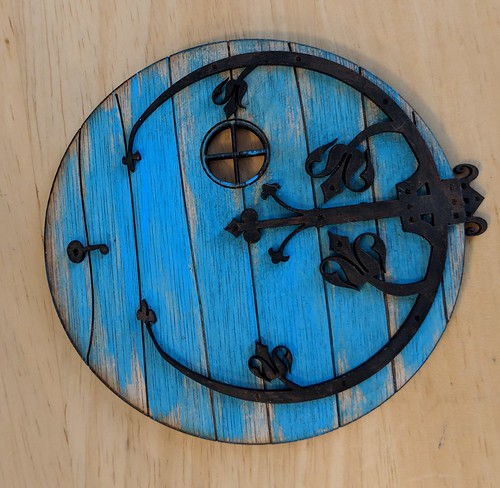
i ordered an 85 mm door for my realpuki caravan a while back, but due to the mail strike here, it just arrived. it was worth the wait though, the detail is fabulous.
they’ll have to stoop a bit to get in, but the size was the right fit for the caravan. and since i am putting it on the back wall, it won’t actually open anyway 🙂
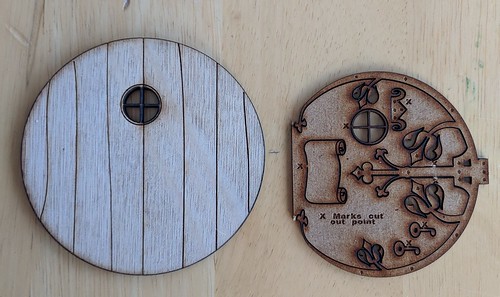
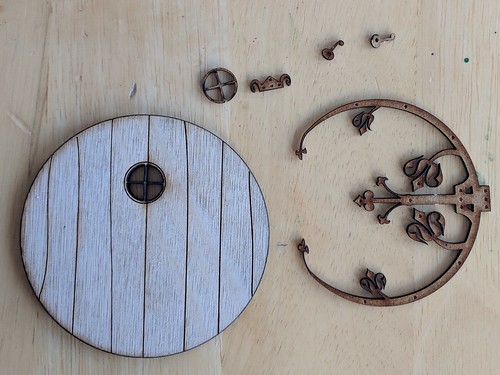
here’s how it came. the details were actually in a square but i took the outside edges off right away. it was nicely packaged and arrived safely in spite of the intricacy
fairy door

here i have separated out the parts i plan to use. the notice for the door is cute, but doesn’t really fit my caravan, so for now at least i’m leaving it to the side.
fairy door parts

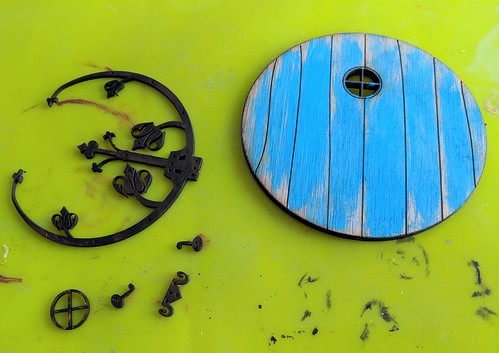
and here are the pieces painted and waiting to dry.
fairy door painted
i painted the door itself with a light coat of translucent blue. i brushed it on lightly trying to leave unpainted any part that might have worn off. the ironwork was first painted solid black, then dry-brushed with brown stain to mimic rust. my puki’s really ought to take better care of their caravan! 😉

ageing the wheels

  • Posted on December 9, 2018 at 2:47 pm

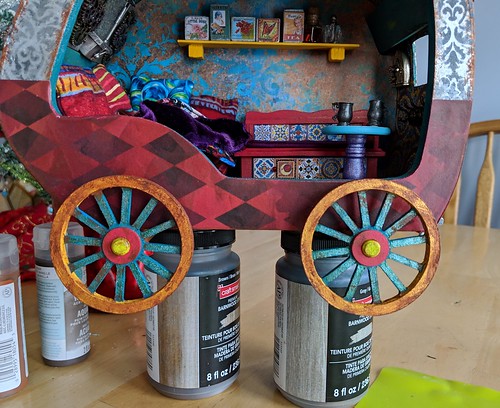
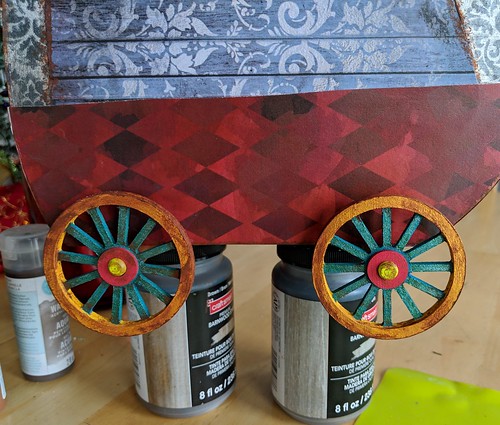
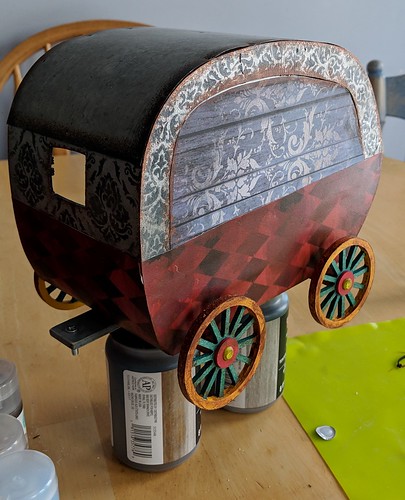
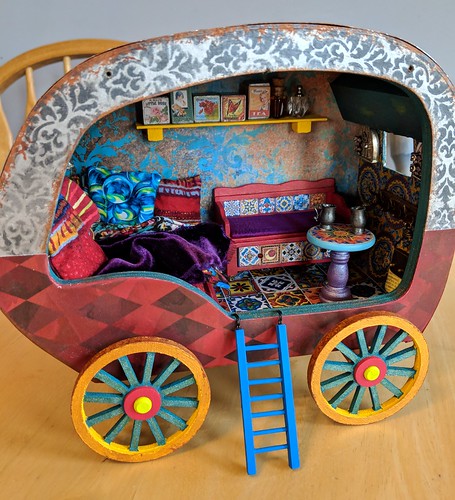
finally got a chance to try and fix the wheels on the caravan. several people had suggested just trying to make them look dirtier/more worn to fit the rest of the caravan, so i thought i would try that first. i put the caravan up on a couple of paint jars, so i could access all the edges at once, and then with dark brown stain did a combination of dry brushing, smudging and painting on a very watered down version till i like the effect. i think the wheels fit in better now. what do you think?

front
ageing the wheels

back
ageing the wheels

from a “distance”
ageing the wheels

washtub

  • Posted on October 16, 2018 at 3:56 pm

in my pre-purge days i had amassed quite a collection of sample cups – you know the ones that costco, or the groceries stores used to pass out samples of food items they want you to try? anyway every time i got a sample, if the food in it wasn’t too sticky, once iI ate the food, i would stick it in my purse or pocket instead of the garbage. at home i would wash it out and add it to my ever growing pile. One time i really scored and the lady passing out samples accidently knocked a stack onto the floor while we were there. she explained that she couldn’t use them for food anymore (obviously) and would just have to throw them out, if we had any use for them, we were welcome to them, of course i snagged them all!

anyway i use the for all sorts of things, like mixing paint colors or holding small amounts of glue when crafting. i reuse them as much as possible and then throw them out when they get too covered with stuff or crack, as they eventually do. as i was looking for something to turn into a washtub, my eyes lit on the stack of sample cups and i knew that some of them would be perfect.
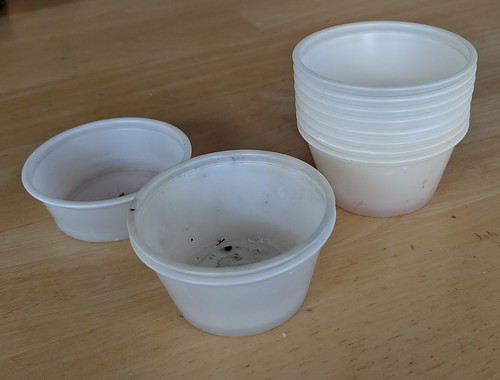
stack of cups
this is just a few of the ones i have at the moment. you can see they are all well used.
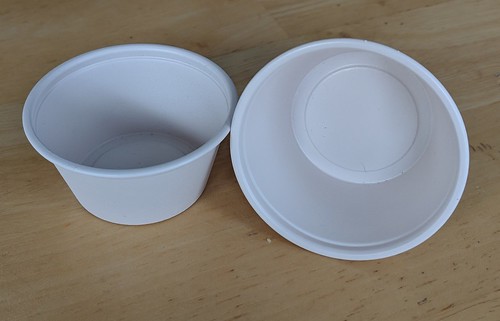
sprayed with primer
while i was making my washboard i coated the cups with off white primer. i have a good can of spray that will stick pretty much anything – wood, metal, plastic etc. i use that as my base coat so my acrylic paints will stick and not just drip or peel off.

next i sprayed on a coat of stainless silver to get the right base color…. and disaster!
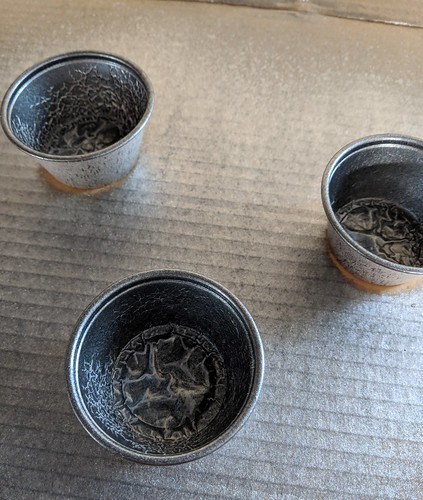
disaster
even though they were both the same kind and brand of paint. the paint peeled and buckled when i put on the first coat. so back to the drawing board.

of course this washtub fits the bigger of my two washboards, so i had to find something else for my realpuki’s anyway. as luck would have it, i was putting in an order for new saw blades at stockade wood supplies, and they had a miniature tub available, and it was smaller than any of the ones i had seen. i thought it might be the perfect size so added it to my order.
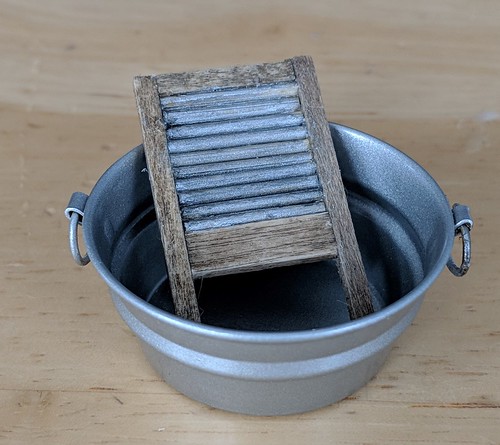
wash tub new
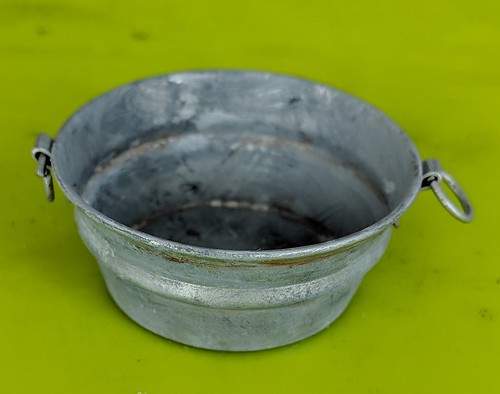
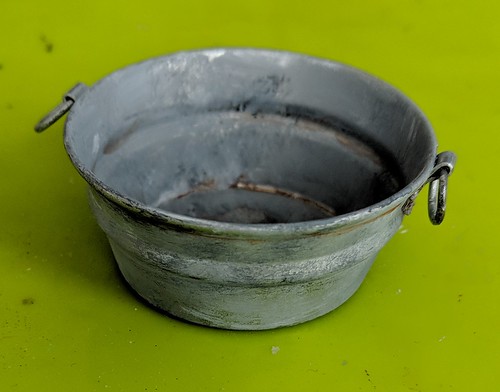
turns out it was perfect. since it was already silver i just needed to make it look worn.
washtub painted
washtub painted
to age it, i brushed on random streaks and dabs of black and white and grays. as usual i put a bit of each color on my palette, and used a toothpick to swirl it together in the middle. this gives me black, white, and a near infinite variety of grays. i looked at several pictures of old galvanized tins and buckets from the internet, as i worked, so i could see what i was aiming for, and make sure it looked realistic.
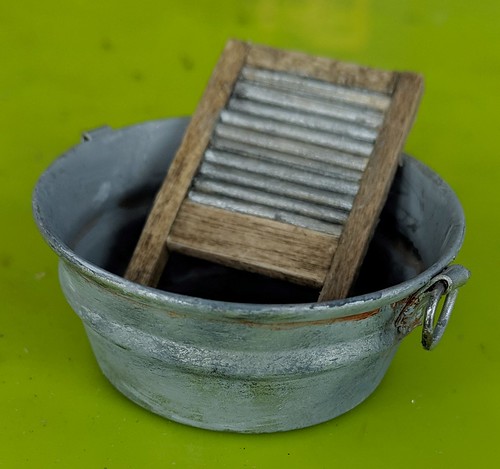
After that paint dried, for the final touch, i added some rusty brown wood stain in the creases, and around the handles -places where rust was most likely to form. the stain is more transparent than the paint, so works better for light rusting than the thicker acrylic would.
washtub done
and ready to go
back to the campfire

  • Posted on October 12, 2018 at 12:53 pm

with the fire mostly done, i turned my attention back to cooking. it was now time to build the stand for my soup pot.

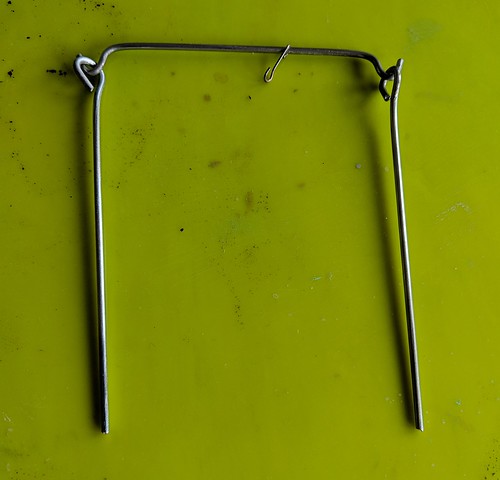
i started with some fairly stiff wire that i had salvaged from some packing materials. it was the right diameter, stiffness and best of all free…

cook stand start
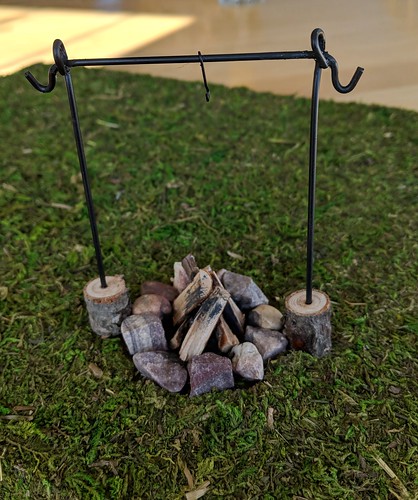
i cut it down and bent it to make two side posts with loops – i wanted to make the loops smaller, but it was too stiff to bend with the end of my pliers. this is the smallest diameter i could use and still bend it. the cross bar has turned up hooks on the end to hold extra pots and pans or a coffee pot – all still on the way. the small hook in the center was formed by trimming down an eye pin and forming it into a roughly “s” shape

cook stand done
after spraying all the wire parts with several coats of flat black paint, to more closely mimic cast or forged iron bars, i cut pieces off of my dried branches to form the bottom supports, drilled holes in the center and glued it all together with e6ooo glue. because the loops were really too big, the stand fell apart easily, consequently i ended up having to glue the crossbar in place as well. since there wasn’t a lot of surface area touching, i left it to set for the full 72 hours before moving it again. lastly i touched up the glue with matte black acrylic paint to get rid of the shine. the roughness left by the glue just added to the look of cast iron -bonus!

the other problem i ran into was the bottom log supports weren’t quite wide enough to make the whole array steady on the uneven grass of the diorama, which means i had to glue them down as well. that was a little disappointing, as i had planned to make a second optional tripod structure that i could swap out for some pictures. i am quite used to things not necessarily working out according to my original ideas though, so in spite of the problems, and changes i am happy with how it came out. i’ll save the tripod idea for a campfire i’m planning later for my larger dolls.

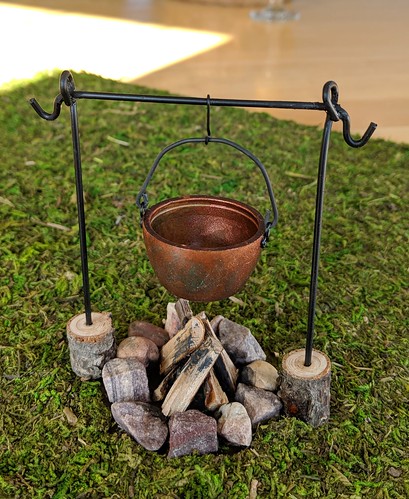
cook stand with pot
and here it is with the soup pot on.

campfire part 3

  • Posted on October 3, 2018 at 10:06 am

next step is adding the fire to the diorama
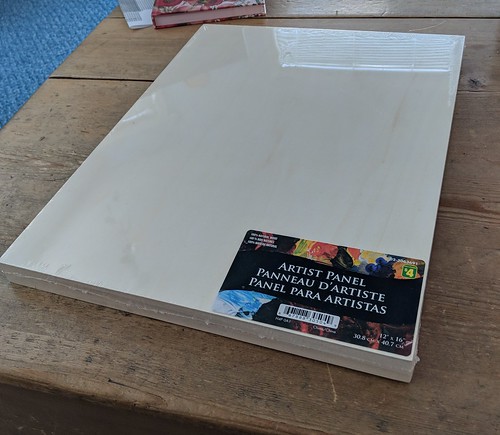
i wanted to hide all the wiring so i found a panel board at the dollerama for $4.
panel front
it is 12″ x 16″. a little small for photos, but it will fit nicely on a shelf.

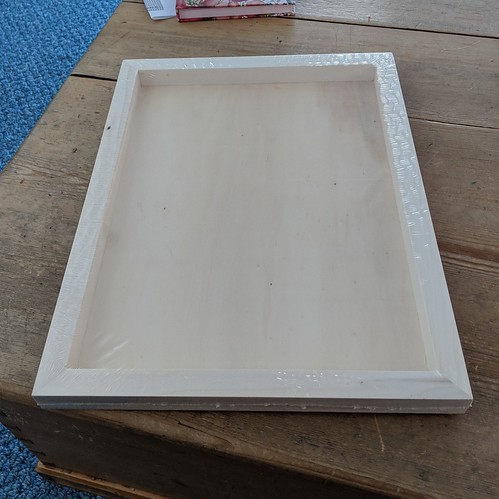
panel back
the back is hollow, with more than enough space to hide the wiring and battery

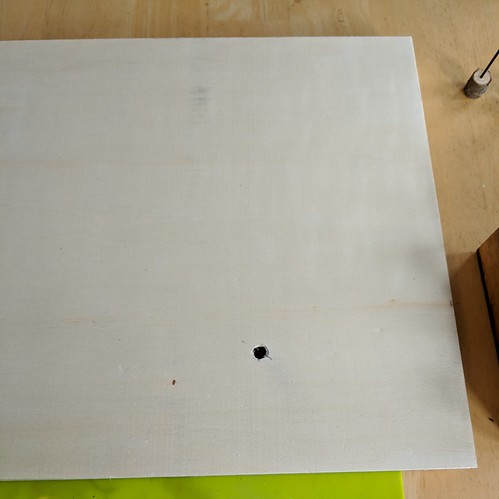
camp fire - hole for wires
after deciding where i wanted the fire to go, i marked the center with an x and then drilled a hole large enough for all the wires to fit through. i didn’t have to drill three holes this time. the top disc will keep the leds from falling through the hole.

diorama grass
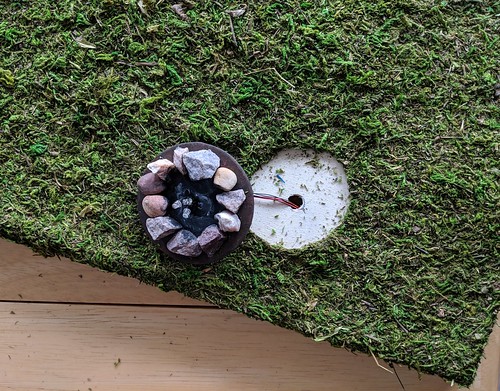
then i added the grass. first i traced around the campfire disc. this area will be left glue free. i spread glue all over the top, except for in the circle, and down the sides. then i spread a moss mat (mine was from walmart, because it was cheapest, but michael’s also has some and with a coupon the price isn’t bad.) i boxed the corners by cutting out little squares the width of the sides. this gave nice neat edges all round. As you can see, adding moss is a messy process, so best to have a broom or vacuum on hand! 😊

diorama cut out
i then poked up with a pen through the hole from underneath, to find the center, and carefully cut out the unglued moss. i cut just slightly smaller than the actual circle

diorama campfire in place
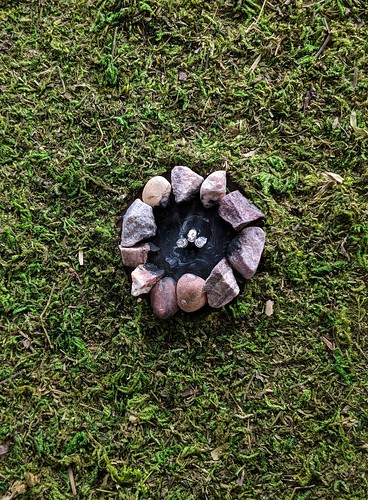
lifting the edges i tucked the fire inside the cut out, adding bits of moss to a couple of places where i went too wide

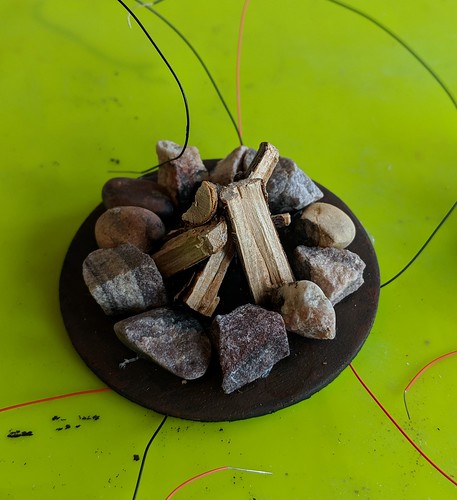
here you can see how i painted the gray/white ash as well

diorama underside
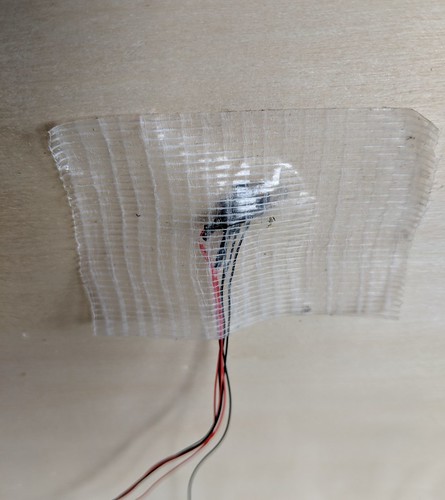
underneath i taped the wires with heavy duty tape.

diorama
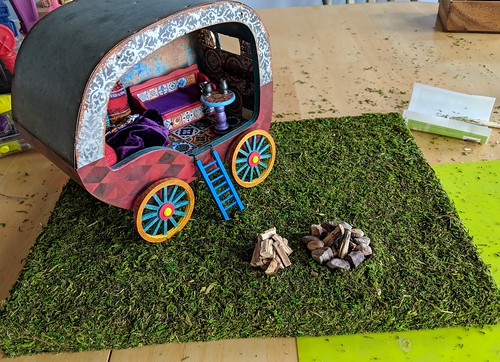
then i glued the firewood in place. the wood pile and caravan are just set on top.

almost done. i still need to add the battery. but i don’t have the right battery in the house and we are in the middle of a snow storm so it may take a day or two to go get one.
camp fire part 2

  • Posted on October 2, 2018 at 8:17 am

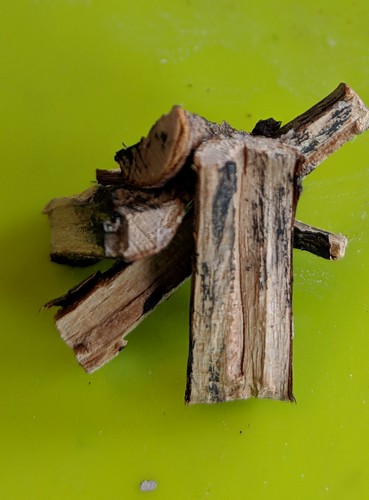
my logs are thoroughly cooked, so i cut them down to size, then used a hammer and chisel to split them. if you don’t have a chisel, you could always leave the logs whole.

camp fire logs
once they were the right size i arranged and re-arranged them till it looked right to me, then glued them together with fast tack glue and let it dry for 1/2 hour or so.

camp fire charring the logs
after the glue set, i carefully lifted the logs out and painted the inside with a combination of black and white paint to get the look of char and ash. to do that, i put a drop of black on my palette, then white beside it and swirled the two in the middle, with a toothpick, to get marbled shades of gray. i painted with the black first and wiped it off with a damp rag to get it nice and thin. then right at the bottom, and up the middle i dabbed on the grey swirly paint, tying not to brush so much that the colors completely blended. i also swirled some of the gray mix on the wood disc to make the fire more realistic. you can’t really see it under the logs, but i know it’s there, and you can see it if you get really close.

camp fire wood pile
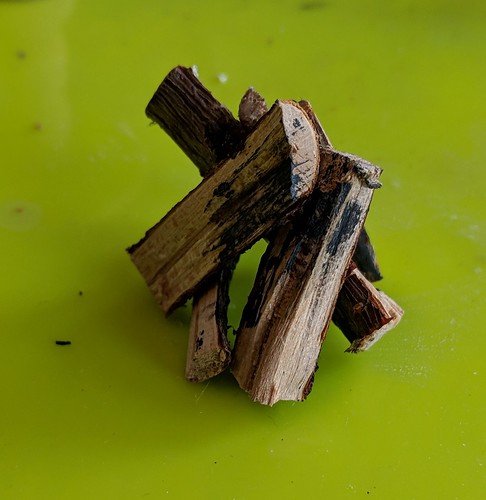
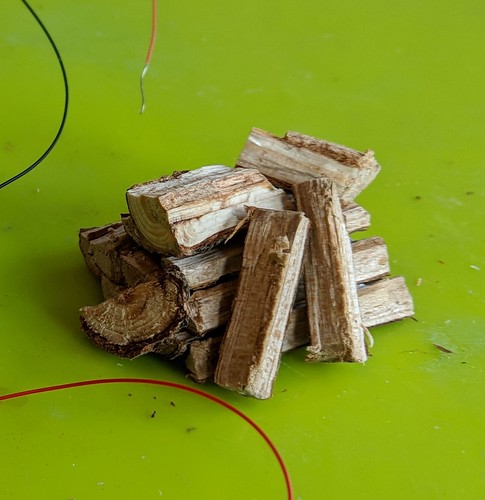
with the extra wood, i built a little pile of firewood that my ‘pukis can use to keep their fire burning.

my caravan has a table

  • Posted on September 30, 2018 at 9:28 am

since the last attempt at a table turned into a storage bench, my ‘pukis requested another table, and there was just enough room in the caravan for a small one.

table bare
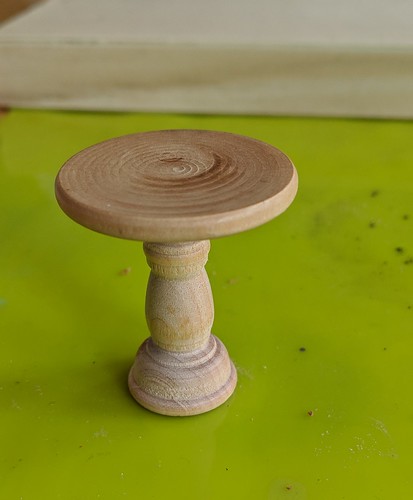
i started with a miniature candlestick from my stash, just a shade under 1-1/2″ tall. the top is a 1-1/2″ wooden disk and i just glued them together.

table painted
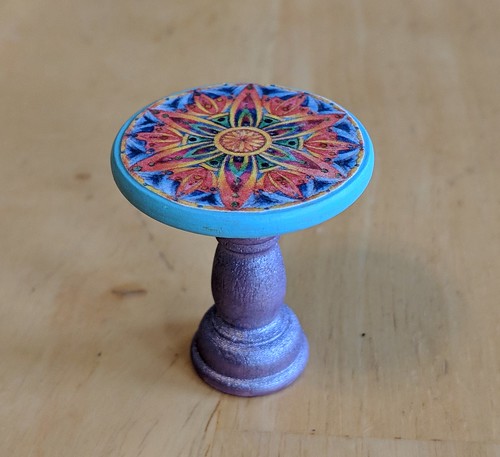
i painted the bottom metallic purple, the top turquoise. it looked a little bare and i considered painting a floral design on top, but realized my painting skills don’t really match the vision i had. so instead i looked online for pictures of mandalas, resized them and then printed out a bunch on cardstock. i find that what looks good on my desktop is not always the correct color or clarity when printed, so this gave me some choice. after i cut out and auditioned them, i modge-podged the one i liked best on the table-top.

table in caravan
it just fits, and holds two tiny pewter mugs i ordered online. the furnishings are done, it’s time to work on the diorama next.

more finishing touches, tins and bottles

  • Posted on September 24, 2018 at 8:29 am

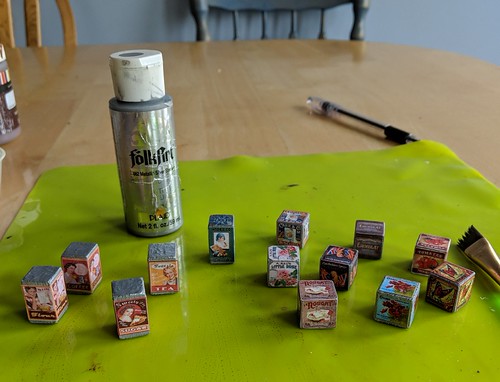
another quick project. i had some small wooden cubes and left over square doweling and decided to make some “tins”.

more finishing touches
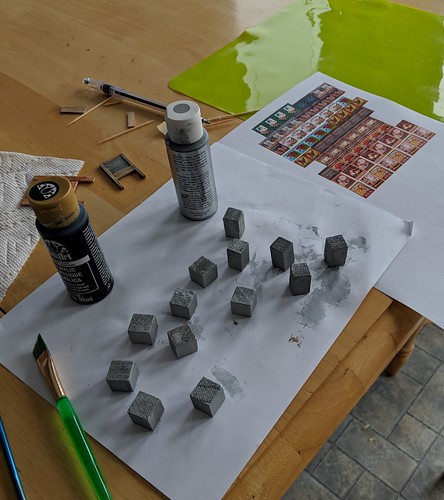
i cut the dowel just a smidge longer than my labels, painted them all silver, then glued on labels. 4 sides and the top sides for the cubes, 4 sides for the rectangles, plain squares on all the bottoms and also the tops of the rectangles to make them smooth. the one turquoise rectangle got patterned top and bottom instead, just cause i had leftover tile that matched.

more finishing touches
once the glued dried i first set the paper with modgepodge, then painted all the plain paper silver again. voila – tins! the extras will go in the kitchen of the house i am planning next.
more finishing touches
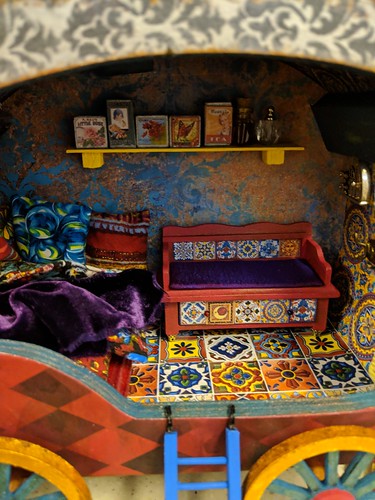
here they are on the shelve with some tiny bottles i picked up a few years back, and found again while cleaning 🙂 they are all stuck on with fabric basting glue. hopefully that will hold, but be removable later if i find something else i’d rather use. we shall have to see if it works….
awn again off again

  • Posted on September 23, 2018 at 1:25 pm

i know that’s a bad pun, but i couldn’t resist 🙂
i thought  you said you were cleaning?
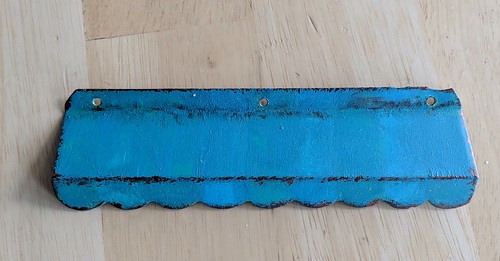
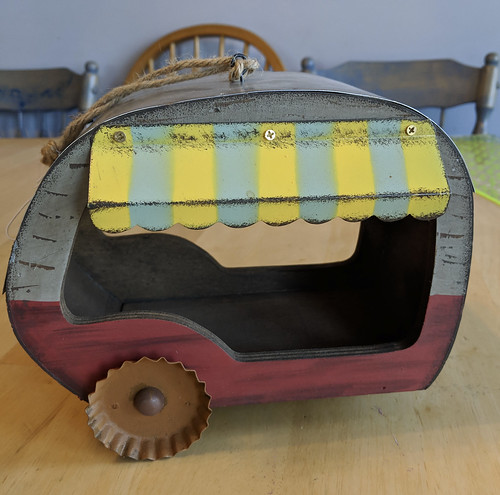
if you look way back to the original awning it was cute, but the colors were just too pale for my refurbished caravan.

awning repainted
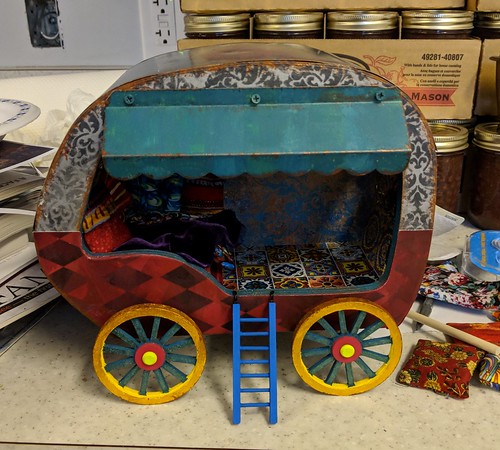
so i painted it with more of my metallic blue/teal mix then aged it with copper and brown to get the rust back. it is a much better color now. i like how the original colors show through as just a subtle striped effect

awning on
i like the way it looks, but unfortunately it blocks too much of the light, making the interior too hard to see. since i really like all the details on the inside and want them more visible, the awning is off again. i may try it on the back side, or just use it for a completely different, and as yet unplanned project, maybe a little shop? 🙂