next step is adding the fire to the diorama
i wanted to hide all the wiring so i found a panel board at the dollerama for $4.
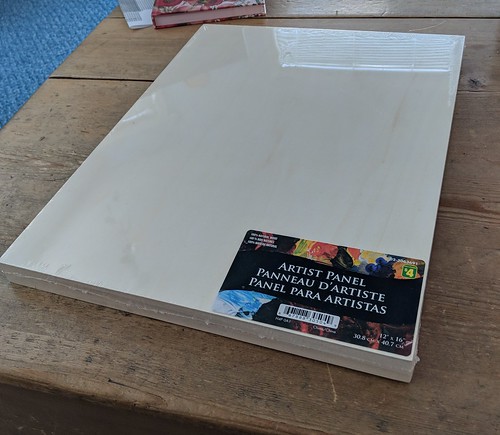
it is 12″ x 16″. a little small for photos, but it will fit nicely on a shelf.
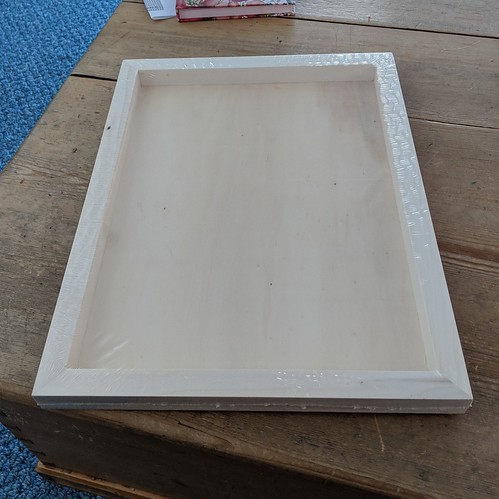
the back is hollow, with more than enough space to hide the wiring and battery
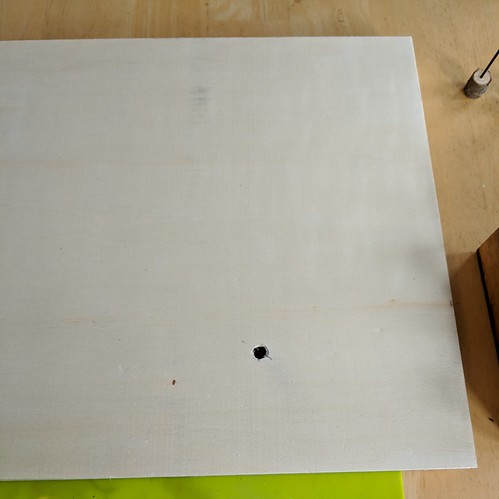
after deciding where i wanted the fire to go, i marked the center with an x and then drilled a hole large enough for all the wires to fit through. i didn’t have to drill three holes this time. the top disc will keep the leds from falling through the hole.

then i added the grass. first i traced around the campfire disc. this area will be left glue free. i spread glue all over the top, except for in the circle, and down the sides. then i spread a moss mat (mine was from walmart, because it was cheapest, but michael’s also has some and with a coupon the price isn’t bad.) i boxed the corners by cutting out little squares the width of the sides. this gave nice neat edges all round. As you can see, adding moss is a messy process, so best to have a broom or vacuum on hand! 😊
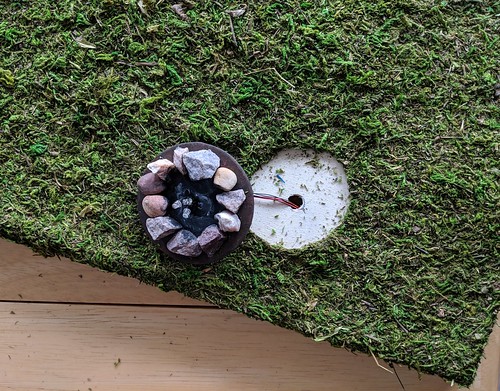
i then poked up with a pen through the hole from underneath, to find the center, and carefully cut out the unglued moss. i cut just slightly smaller than the actual circle
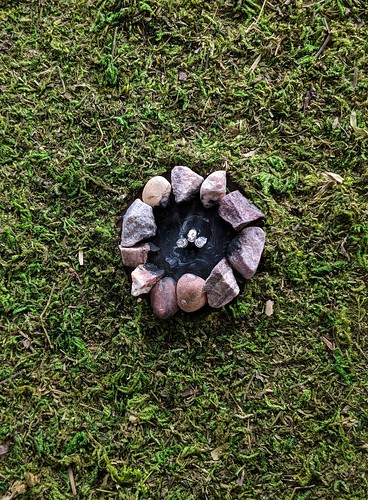
lifting the edges i tucked the fire inside the cut out, adding bits of moss to a couple of places where i went too wide
here you can see how i painted the gray/white ash as well
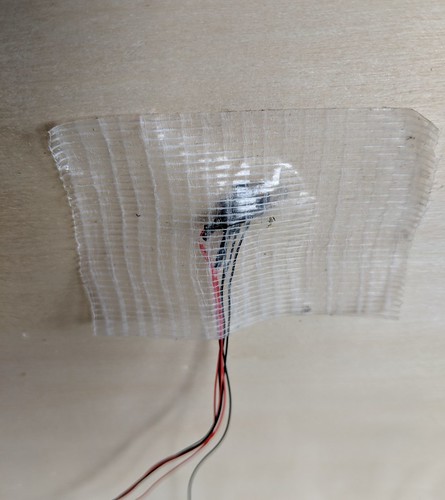
underneath i taped the wires with heavy duty tape.
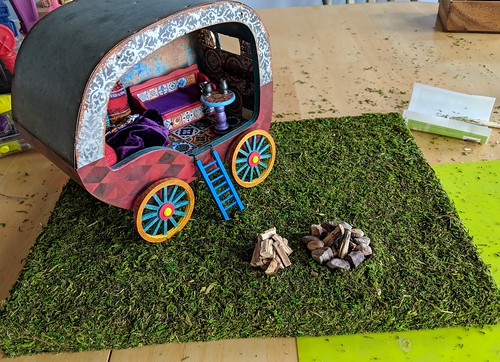
then i glued the firewood in place. the wood pile and caravan are just set on top.
almost done. i still need to add the battery. but i don’t have the right battery in the house and we are in the middle of a snow storm so it may take a day or two to go get one.